More FOCUS on Autopilot? Schedule Do Not Disturb On Your iPhone Or Android
One-Minute Productivity Tip: Do Not Disturb iPhone · Do Not Disturb Android
My Tip for more productivity on autopilot.
Set an automatic schedule for “Do Not Disturb” on your phone.
My default settings that you can use too:
do not disturb until 11 AM, so you can finish your most daunting/important task first (Eat That FROG!!)
exceptions: only favorites and alarms/calendar notifications
do not disturb from 7 PM
Turn On Do Not Disturb With iOS 15 And iPadOS 15
From Settings
1) Go to Settings and tap Focus. 2) Tap Do Not Disturb. 3) Select your custom options for notifications.
To turn on Do Not Disturb from Control Center
1) Open Control Center on your iPhone or iPod touch, or on your iPad. 2) Tap Focus, then tap Do Not Disturb.
Turn on Do Not Disturb with iOS 14 and earlier, and iPadOS 14
1) Go to Settings > Do Not Disturb. 2) Turn on Do Not Disturb manually or set a schedule.
To turn on Do Not Disturb from Control Center
1) Open Control Center on your iPhone or iPod touch, or on your iPad. 2) Tap the crescent moon icon or touch and hold the crescent moon icon to turn on for a specific time frame.
Schedule Your Do Not Disturb Settings iPhone
If you don’t want to be disturbed at a certain time, you can set a schedule and change other Do Not Disturb features to help you concentrate.
From Settings
1) Go to Settings > Focus. 2) Tap Do Not Disturb. 3) Select settings for Allowed Notifications, Focus Status, Smart Activation, and more.
With iOS 14 or earlier, or iPadOS 14
1) Go to Settings > Do Not Disturb. 2) Turn on Scheduled and set a schedule. 3) Choose when you want to receive alerts, calls, and notifications:
Silence: Choose to silence calls and notifications always or only when the device is locked.
Allow Calls From: Allow calls from everyone, no one, your favorites, or specific contact groups stored on your device or iCloud.
Repeated Calls: If someone calls you twice within three minutes, the second call isn’t silenced.
One-Minute Productivity Tip: Do Not Disturb Android
Turn On Do Not Disturb Android
You can enable Do Not Disturb mode with just a couple of taps.
1. Pull down the Control Center by swiping down from the top of the screen.
2. If you don’t see the Do Not Disturb icon, swipe down a second time to see more icons.
3. Find “Do Not Disturb” and tap it. Each tap toggles it on or off.
How To Schedule Do Not Disturb On Your Android Phone
You can enable Do Not Disturb from the Control Center, or you can schedule it to run at a specific time of day.
1. Pull down the Control Center by swiping down from the top of the screen.
2. Tap and hold the Do Not Disturb icon for a second or two until it opens the “Do Not Disturb” settings screen.
3. Tap “Turn on as scheduled.”
4. Turn it on by swiping the button to the right.
5. Tap the days of the week you want to set Do Not Disturb for on a recurring basis.
6. Tap “Set schedule” and choose the start and end times for the Do Not Disturb period.
How To Set Exceptions For Do Not Disturb On Your Android Phone
Do Not Disturb settings give you a lot of flexibility for allowing exception – letting specific contact’s calls go through, for example, or getting task alerts or reminders.
1. Pull down the Control Center by swiping down from the top of the screen.
2. Tap and hold the Do Not Disturb icon for a second or two until it opens the “Do Not Disturb” settings screen.
3. Tap “Allow exceptions.” On the “Allow exceptions” page, specify how you want Do Not Disturb to work:
You can allow audio from alarms, media files, and even the touch sounds when you tap the screen to play by swiping those buttons to the right.
To allow calls or messages from people in your contacts list or only favorites to ring through, tap “Calls from” or “Messages from” and choose which contacts you want to allow.
You can allow repeat callers (anyone who calls twice within 15 minutes) to ring through if you turn on “Repeat callers” by swiping the button to the right.
You can also allow event notifications and reminders to alert you by turning those options on as well.
Do Not Disturb iPhone · Do Not Disturb Android
Watch my tutorial to see this tip in action:
One-Minute Productivity Tip: Do Not Disturb iPhone
More FOCUS on Autopilot? Do Not Disturb iPhone · Do Not Disturb Android
Good morning, this is Olaf again with a One-minute Productivity Tip for today.
It’s about focus.
Maybe you know how important it is to focus on your most important task and to start your day with the most important task. But that is something for another day.
Today, I’m going to talk to you about how powerful it is to keep your focus on this one task, whatever it is that you’re doing.
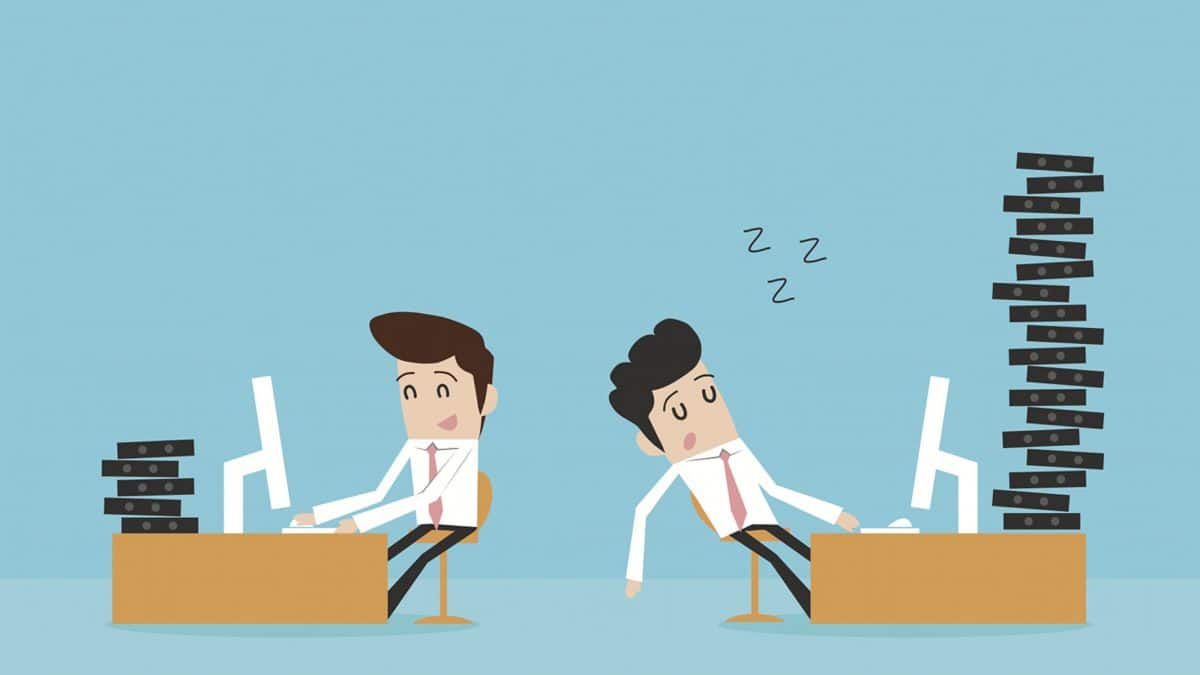
Because switching between tasks is one of the biggest productivity killers there is, as you can see here:
Switching between tasks? 80% productivity decrease… Do Not Disturb iPhone
I just checked this Forbes article…
When you’re simultaneously working on multiple tasks, you’re destroying your productivity by 80%.
Eighty percent ladies and gentlemen…
So, it’s critical to keep focused on one thing and one thing only.
As you can see and there are multiple studies around this topic… and the main finding is that it is very critical to keep focused at any cost.
There are a couple of ways you can do this.
The background story: focus versus productivity
Let’s go to this slide first because what’s the story here regarding productivity and focus?
Well, what I always teach is never to start with email to begin with…
I will dedicate a different one-minute productivity tip on this and even a whole session because it’s very critical, so you should never start with your email!
But that is something for another day. For now:
Disable
your email at startup
all the notifications
all your distractions
Make sure
your email is closed
your phone is at Do Not Disturb
all your sound notifications are off
your door is shut or you have your headphones on
you have a Do Not Disturb sign on your desk
you have a set of rules with colleagues and or family to keep you focused
And the thing that we are going to talk about today is how to keep your phone at Do Not Disturb automatically.
How to set do not disturb on Android phone
All right, so let’s see what we can do, I will first demonstrate this on my Android phone and then on my iPhone / iPad.
Here you’re looking at the screen saver of my Android phone and when I’m going to open it up, I have used my face recognition.
I’m living in the Netherlands, and it’s in the morning and as you can see, I have my Android phone right here.
So, you must drag the screen from the top, and you go to settings, so I will click settings, and then I can go to Do Not Disturb.
You could also search here for disturb, and you can go to Do Not Disturb, and then you have all sets of rules.
Shortcut Do Not Disturb Settings Android
One shortcut to go to this type of settings, is to go back to the main screen and just drag it down from here and if your Do Not Disturb icon is not in your top five, which it should be by the way.
You can drag it down by swiping from here, and you will see all my settings.
What you can do to go to one of these settings, is to just press and hold the icon.
So, I’m going to press and hold the moon icon, and you can see you directly go to your Do Not disturb settings!
Auto Do Not Disturb Android
What I have done here is I have enabled the Do Not Disturb settings and I have this schedule that is running from seven in the evening till nine the next morning.
I have set this for the whole week.
Actually, if you want on an Android you can just also choose different schedules for weekdays and weekend days as you can see. But also for every day of the week if you have a specific reason to do so.
What I would recommend is to keep this schedule active at all times because then you really can focus on your tasks.
If you want, you can still have calls from your favorites, for example, or all of your contacts or everyone.
I would recommend just some favorites. Then, if it’s very important, they will get through. Or even set it to no one and just set repeated calls to enabled.
You can also choose which messages you would like to receive, so if you are doing a video or a screencast, then I’ve set it to Do Not Disturb
So, no calls, no messages, no repeated calls, nothing 👍
But if you want, you can enable repeat calls. Then a second call from the same person within 15 minutes will get through anyhow.
This is how you can do this.
Think about your ideal workday and schedule accordingly
What I would recommend is to think about your situation because many people just start their workday at nine o’clock, and then they open their mail, and they start answering their mail…
This way they are being reactive all day.
What you also could do is:
set your Do Not Disturb schedule to 11 AM the next day
don’t open your email
figure out your most important tasks that you want to do for that specific day
start with those tasks
And do not stop before this task has been done.
By do not stop, I don’t mean you have to work three hours in a row…
You should stop every 45 minutes or so to keep being productive, but you can keep working on the same task for this period of time.
How to put iPhone on Do Not Disturb Schedule · How To Turn Off Do Not Disturb On iPhone
This is how it works on Android and I will show you how it works on iPhone now.
So, here we have a look at my iPad, and this is the same for the iPhone.
If you go to the iPhone you can go to settings and I already did something here…
I will cancel that for now and in this case, at the left-hand side you see the Do Not Disturb.
You can also choose to search for disturb, but you can go to Do Not Disturb by clicking Do Not Disturb.
The same as on Android, you can enable this if you want and have a schedule.
And as you can see, there are some differences, but for the most part, it’s the same as on Android.
The only difference is that on iOS there is no standard difference in days, so it will be valid for all days from 7 pm until 10 am the next morning
Do Not Disturb Settings iPhone
You have some options that you can lock the screen, and you can have options like on the Android to have repeated calls come through.
But this time it is within 3 minutes, instead of the 15 minutes on the Android. For the rest, it’s more or less the same.
I would recommend you on your iPhones to do the same as before.
Think for yourself when would you like your workday to end? Just enter this as the first number.
Then think for yourself: the next morning when you start to work…
How much time would you need to really get cracking while not being disturbed by phone calls or other things that would just interrupt your productivity?
So maybe it’s 10 am, maybe it’s 11am, it also depends a little bit of course on the fact if you’re self-employed or not. Or if your job involves taking calls or not.
In this case, this is an effortless One-minute Productivity Tip!
Just set your Android or your iPhone to Do Not Disturb automatically between certain times.
That way, you never have to think of this again 🙏
This will increase your productivity greatly.
I hope this helps, and I will see you in the next tip.
Bye bye.
Have a Productive Day 🚀 Olaf the ToolFinderr
How To Turn On Do Not Disturb iPhone · Do Not Disturb Android
Video Transcript How To Image Search On iPhone, Android, Or Desktop
From the series: One-Minute Productivity Tips
00:00 Intro · How To Image Search On iPhone, Android, Or Desktop
So, hello, good morning, this is Olaf again, and today I’m going to talk to you about a nifty little trick that can help you find images and photographs on your devices much quicker than usual.
One night I was talking to my aunt, and she asked us about our pets, and we have a couple of dogs and cats. And one of them specifically, she asked how he was doing.
So, I said: “well, I’ll send you a couple of images later”. And that night I was looking on my phone and trying to find some images…
And I thought, this cannot be the case that I have to scroll back and forth into my two thousand something pictures of cats and dogs and myself and my girlfriend.
There must be a better way, and obviously, there is one, but I wasn’t familiar with it.
I want to share this discovery today with you guys, and it’s very easy.
Maybe you already know it. If so, never mind if you don’t, this could be a great time saver.
If you like this video, please subscribe, like comment, etc. That would be very nice, I would be genuinely grateful for that.
All right. So, how do we do this? It’s the same on iPhone, iPad, Mac as well as Windows and Android. They all have their own specific Photos Apps that you can use.
01:39 How To Use Photos App On iPhone
So, for example, on an iPhone, you can use the native photos app on the iPhone or iPad.
Just go to photos, and you can see already there are categories in there, so I can say dogs, for example.
And you will see a lot of dogs, but you also have moments, and you have categories again. You could have even things like December, as you can see.
It’s very easy to just check for the photos that you are looking for.
02:24 How To Search For Pets, People, Places, Dates etc. on Desktop or Android
You can also use Siri to say something like “Search for cats in the Photos app”, or something.
That is very easy to do on the iPhone and iPad and the Mac as well.
And on Android or, in this case, on my desktop, you can use Google Photos.
So in this case, you can see that it opens well, as you can see long time ago, I had to lose some weight….
But here it already suggests you can look and search for Sweden in this case or some favorite images of people that I have or images in regions that I’ve been to.
In this case, I’m going to look for dogs in Dutch that would be “Hond”. So, I will look for Hond.
And as you can see, Mouss is this brown one,I can find the nicest images in seconds. But as you can see, we’ll find all kinds of dogs.
This used to be our border collie, and these two are current dogs, but it works with cats as well.
So in Dutch. I can’t take cats, and I get all kinds of cats that we have images of.
And even if I choose “Me” in this case in Dutch, that will be Mij, then you see, these are all images of me and or my friends and girlfriend.
I could also click one of those where you see that Odette is in the images, In this case with our cat.
04:08 Search Images By Location, Countries etc.
So, it’s very easy to look up specific things in seconds.
I could also say Sweden, this is an album, but I can also choose Sweden as location.
And then you will see images of Sweden.
You can do the same on Apple as I said, and Microsoft doesn’t matter when your Android phone, iPhone, iPad, they have all their native apps.
And in this case, instead of scrolling for hours, I can find these images in seconds. So, this would be my tip for today.
Again, if you like this, please share, comment, subscribe, et cetera, depending on the platform you’re on.
And please tag me olafthetoolfinderr or just #toofinderr.
That would be very nice. I hope to see you on the next tip.
Olaf "the ToolFinderr" is a full-time internet marketer with a passion for systems and tools.
His goal and drive is to help you get more structural and recurring revenue in less time.
Or, if you are working for someone else, make you as productive as you will ever be.
His secret ingredient: loads of TOOLS.
Founded in 1970, 100% online since 2014.