If you want the best 📹 video editing software, Movavi is for you!
OK, let’s be honest: when talking about video editing software, nothing is really easy to use.
But, compared to many other tools I tried and tested in the past, the video editing software of Movavi is refreshing.
Although you’d still need a couple of days to really get the hang of it. Movavi says 20 minutes, but then you would need to be very tech-savvy. So let’s make that at least 2 hours.
Nevertheless, once you do, the possibilities are endless, and the ease of use is a lot better than its competitors.
What is Movavi Video Editing Software
Movavi is an all-in-one video suite: an editor, converter, screen recorder, and more. Perfect for remote work and distance learning.
Why did I need Movavi Video Editor?
Well, I’m into online marketing, into affiliate marketing and making money online.
So, I do many tutorials, explainers, courses and trainings. And of course, I need to put those on Vimeo, YouTube, Udemy, WordPress.
Therefore, I need software to create:
Add buttons to subscribe etc.
Smooth transitions and added text
Blog videos for affiliate marketing
Movavi Tutorial Video · Best Video Editing Software
Watch my tutorial to see Movavi Video Suite 2021 in action.
Screenshots Best Video Editing Software Movavi
The best Video Editor out there: Movavi Video Suite
Movavi Video Editor Dashboard. Create your video in minutes, not days.
Movavi Review Video Transcript: How to Edit Videos
Hi,
Do you have a website, a blog or a vlog?
Or maybe you just want to make videos for anniversaries or holidays or stuff that you will share with the family?
Well, anyway it is good to have a nice video editor that doesn’t break the bank but is very versatile and intuitive.
My name is Olaf and today I’m going to show you the best video editing software from Movavi Video Editor.
Normally, I would do this with my screencast at the same time as my webcam. But since these tools together are very heavy I’ll just show you this PowerPoint and then after that, I will show you Movavi.
In real life, the latter won’t be a full-blown tutorial though because that would take days. But in it, you will see how easy it is to use and what you can do with it in maybe a minute or 20.
00:59 Why did I need the best video editing software?
What is it and what do we use it for?
Well, I’m into online marketing, I’m into affiliate marketing, making money online and I do a lot of tutorials, explainers, courses and trainings like this.
And of course, I need to put those on:
Vimeo
YouTube
Udemy
WordPress
And most of the time the videos need some editing. Apart from that, I needed something that I could use to have my YouTube videos with a subscription option in it. A button to subscribe and a button to be not notified and stuff like that.
And of course, it’s always good, if you have multiple videos or parts of videos, that you have smooth transitions. And you add some text to it may be an intro or an outro. So, this is what you need video editing software for in general.
Especially if you’re a blogger or vlogger this is crucial. And as you will see later on in this presentation, video is more and more the number one media tool to capture the public and to engage people.
02:12 Benefits of Movavi Video Editor
What are the benefits of Movavi?
Easy to use and very intuitive
Lots of options (filters, transitions, titles, effects, stickers)
Object Animation
Built-in media
Montage wizard
Speedy editing
Fast exporting to all video formats
Very affordable
Lifetime license (one payment)
03:23 Use cases Movavi Video Suite
Use cases for videos are infinite actually, you can do:
Interviews
Live streams
Commercials
Explainers
Training
Holidays
Anniversaries
Festivities
Sweet 16 of your daughters
Webinars
Record social media
You can use video for everything.
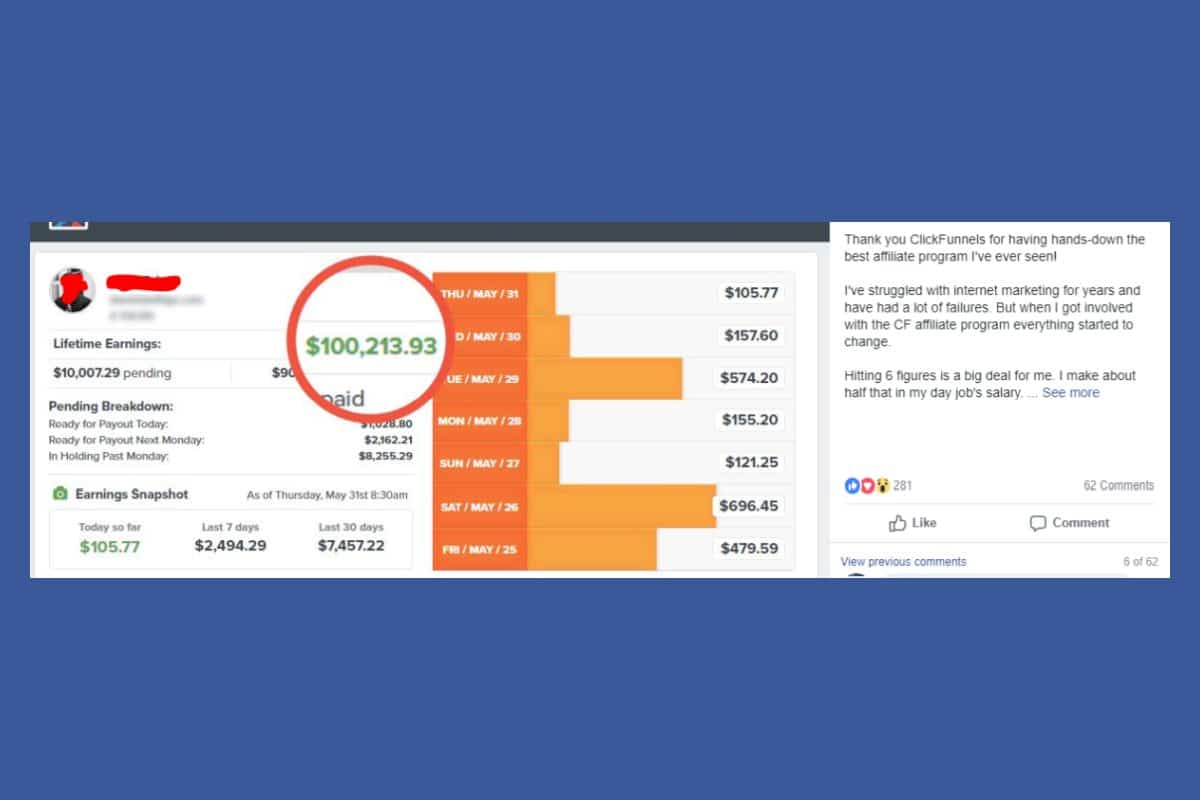
I use them a lot for blogs and for my sales funnels. Because video sales letters are much better and better converting than regular sales letters.
But here are some options and some ideas of what you can do with the video.
04:04 Why use video instead of other media?
Why would you use video?
Well, I have a couple of snippets from websites. For example, here as you can see: video can convey an appropriate emotional tone in a way that text alone can’t manage. This is true because you cannot hear:
The voice
Emotion
Anything else
if you’re just reading the text.
And we humans are visual species. We find videos more engaging and more memorable. And if you want to increase conversion, as I just told you about with my sales funnels, you need a video marketing strategy.
6 out of 10 people would rather watch online videos than television these days. Here’s another interesting one: viewers retain 95 percent of a message when they watch it in a video compared to 10 when reading it in text.
This is remarkable, right.
Video is thus the way to go if you are doing something with online marketing, something to earn money online then just go video.
At least video and email and then you can spice it up with all kinds of other media. But these are the two that you should start with in my opinion.
05:23 Movavi Review
What are people saying about Movavi?
Well, it’s very easy to use as I said. It got a rating of 4.4 and in this case 4.5 and here 4.7 out of 5 stars. Which is great.
And I have to say after using and having used a lot of different video editing software systems: Movavi delivers on its promise.
05:51 Advantages of Movavi, the Best Video Editing Software
The proof of the pudding is in the eating…
Let’s go, this is Movavi.
And maybe I should start by showing you the Movavi Video Suite in total first. Because it is more than just a video editor. Here you can see the editing software that I’m going to show you later.
But you can:
Convert videos
Record computer screen
Create slide shows
Edit photos
It’s a complete video suite at your disposal. Those individual software systems are available as well.
But for a little extra, you can buy the whole suite and you are done with it for the rest of your life. Which is nice compared to some very expensive subscription models.
Back to the video editing software. So, this is what it looks like. I’m going to add files first. This is important because then I can show you what is what on this screen.
I will just grab a couple of video files and an audio file to support it. And I will import them into the system and drag them down to the timeline. Automatically you can see a couple of things here. These are the important media files.
On the right-hand side, you always see the video itself. The edited version of the video. So, if I do transitions or titles or stuff in it, you will see the result over here on this smaller screen.
And the screen is smaller because it sometimes takes a lot of power from computer and then you can still see what you’ve done in real-time.
07:51 How to edit a video with Movavi
Here we have the timeline. As you can see now in total the project length is 4 minutes and 36. Which is rather long.
So, we are going to shorten that a lot. And here you see my one, two, three, four, five video clips. About some of our dogs, some have passed away, unfortunately, and some are still here.
I and my wife are really big dog lovers. That’s why I’m just going to show them to you. And If you’re not a dog lover, too bad. They are the heroes in this video.
And here you see my excellounge clip that is going to accompany the videos.
What I’m going to do now is first of all I’m going to delete a couple of audio segments that are in the video. Because otherwise this will just interfere with the music.
And this red thing is the pointer where you are in your video. You can see on the right-hand side at the top where you are, and here you can see the seconds of the video.
So, this is let’s say the title and text overlay. This is a video and you could have multiple videos over each other. But for simplicity reasons, we’re just going to use one.
And this is audio as you can see. Let’s scale this back to maybe 20 seconds. Because otherwise, we would be looking at four minutes all the time. Which gets a bit annoying. I would just shrink these and then this one and this one.
10:54 Movavi Tools
I just select them by clicking and dragging the yellow end, like this. And here you can scale to see your timeline bigger and smaller. But you can also use your keyboard by control and your mouse like this.
First of all, I’m going to crop the length of my audio to match the rest. And I’m going to increase this with CTRL plus or CTRL mouse. And we are going to the beginning of the clip.
Now, let’s see what it looks like without doing anything. Well, it’s already a pretty nice video, I would say. But again, I’m a dog lover so for me that’s easy. I love looking at dogs all day long!
So, what tools have we got:
Filters
Transition titles
Stickers
Color tools
Crop tools
Overlay tools
On the right-hand side, you see the video in edited form. If you want to see it in full screen you can do alt enter then you will go full screen. In the end, we will export it but for now, we just stay in the best video editing software itself.
Here you will see the timeline. And above it, if you click on the video or the audio you see different things you can do to it like:
Transitions
Cutting
Rotating
Cropping
11:52 Movavi Video Suite Filters
Let’s start with some filters. I’m not a big fan of filters because, your video gets blurred and it gets distorted but it could be nice to have some effect on your video. Let’s see how this works.
So in the filters, you have these categories and let’s assume I already figured it out. I want to show you a kaleidoscope. You can also search in this box and there we have it.
If you have a filter that you like, or a transition or a title you can add them to your favorites by clicking on the heart. And then it will be added here and as you can see it will disappear again if you click the heart again.
How do we apply a filter to a video with Movavi? You just drag it onto it and you see immediately here is the star. And if you click on the star you can see the applied effects. And that is the kaleidoscope.
Let’s see what that does. That was my dog digging, of course, although it wasn’t recognizable as such anymore. But here you can see the effect of a kaleidoscope. Now it could be nice for some videos. I don’t know in this case…
I will remove it now because it gets a bit in the way. But you can play around with it whatever you like.
We have all kinds of filters:
Fish eye
Flip
Mirror
Posterize
Sharpen
So just eat your heart out and go nuts with the filters.
13:54 Transitions Movavi Video Editor
Then we have transitions. You can use the transition wizard, which means it adds transitions to all clips. This can be very handy if you for example would like to use just the same let’s say the zoom in-out everywhere for three seconds.
I don’t know why it went to 999. Let’s go again for three seconds. Okay, and you see it has had been added to all the clips, and we’ll see what happens.
It’s zooming in and out so you get a smooth transition from one video to the other. And this is random, but you can also use the zoom-in out for every clip. Then you will have the same transition.
Alright, so this is nice. But now I want to remove them all because I want to show you how you can do this manually. And by manually, I mean you go to transitions at the left-hand corner.
Here you have all the categories that I was talking about. Normally, I use the ken burns one or the zoom one. So, ken burns smooth for example I can put it in there, and over there. And if I go for zoom, I will put it in here and there.
If you want to change those transitions, they are over here in between the clips. Just double-click them and you can change them like that. I can just make them a little longer, you can see the effect better.
As you can see, I could also do this, and it will be applied to all transitions. I wouldn’t have to do it four times like I just did now.
After the transitions, we would like to add a title. But you can also add some videos to start with an intro.
16:54 Advanced video editing with Movavi
Let’s go to those intro videos and just start with this. Now you can see I added a video. My raw file, my audio file isn’t long enough anymore. I just drag this to match. I can edit this because I want my text to change of course into something else.
I’ll change this into Olaf presents. And then I will cancel this. Now it should start. It hasn’t been changed as you can see, I forgot to save it like this. Now it should be okay hopefully. Yes, that’s better.
I could cut it out in this video, but for learning purposes I think it’s better to see that you should always save your work ladies and gentlemen. Alright, so now I have this introduction and then it will start.
But as you can hear it will take a long time before the actual beat of the video picks up. Hear the beat of the audio starts kicking in as you can see here by the waves. I would like to start that earlier.
And I’ll just cut a little bit of my audio file over there and I will adjust this to match the video length. Now you will see it will pick up earlier. For example, if we start over, we get a short intro and then the beat starts.
I like that better. And here there’s missing something because I want to have an introduction text. I’ll go back to my titles. Again, you can search and here are your categories.
I don’t have my titles yet obviously, I want to use a ribbon. And this ribbon you can edit by double-clicking over here. And I would say Dog bonanza, always having fun.
19:38 Audio editing with Movavi Video Editor
Let’s see what that looks like starting over again. Well, that is nice. I think it’s okay but I should have an outro text as well. I have an intro now but there’s no fade out or outro yet.
Let’s go and see what we can do. I’m going to this one and I’m going to put it over there and match it to end at the same time. Here I would say Olaf’s and then ToolFinderr Production.
Let’s see what that looks like. Well, that’s nice. I can change colors to have it better looking but I will show you that over here.
Let’s make this yellow or something yes. And then you can see a little bit better what it says. All right so let’s start at the beginning.
What you can also do is you can add stickers to it:
Exclamation marks
Hearts
Balloons
Arrows
For example, in this case with my dogs, you could point an arrow to a dog and with its name. For example, one of the dogs is called Saar I would say okay this is Saar something like that.
Now, I will just skip this because I think you know how stickers work. What you can do with those.
And last but not least you have some adjustments. Like color adjustments for example, if you click on a clip and you can change:
Contrast
Saturation
Balance
Or do some other stuff to it if you’re not completely happy with the colors. But for now, I think it’s fine. You could also crop and rotate. And I will show you when this might be handy for example.
22:28 Best Video Editing Software: Crop Video
In this case, I could go to the crop. Because the dogs are a little bit far away. And I would just crop it like this and it’s done. So, now you see they’re a lot closer. In this case, let’s play the video again. You see them a lot closer than they were before.
Alright, so we have covered all the things on the left. And now, I’m going to show you some tools at the top of the timeline. Let’s start at the beginning. Every time you click on this it will skip one clip.
One of the tools that you can use a lot is the split tool to cut something. Let’s cut it in half like here. I will split it and this way I can move it around and have a clip over there. And now you can see its part is over here and part is over there.
But now I’m missing transitions as you can see. We go to the transition wizard again. And we click okay and it has been covered. Let’s go to the start and click on the clip again.
And what you can do here apart from cropping. Also, rotate your video I have never used this but maybe it could be of purpose somehow. Alright, what you can do now is if you are doing a tutorial or I don’t know an anniversary or a wedding, you could also add your voice to it.
For that to happen we can go to the file import and record audio option. I will click the microphone that I’m using. And I point to where I want this to appear. Let’s say over there.
24:43 Movavi Video Suite Voice Over
And here I can start my recording and just say something into the microphone like this and stop whenever it’s handy. Let’s listen to the voice so, I can cut this again like this, and I can move it around.
And make it a little bit shorter for training purposes. But now obviously it’s going to interfere with the audio file over there. What you can do, for example, is using the split over there and over there.
Then I can double-click on this wav and just turn back the volume. Or I could also use the plus and minus arrows on my keyboard. And now you will see that the music is softer and my voice will be relatively louder.
That’s fine for now. What else can we do?
Well, we should start with a fade-in. I’ll do this like three seconds. And here I will fade out like maybe five seconds to have a good effect. And in a nutshell, this is what I wanted to show you.
I just had some random clips of my dogs. Put them in, added some audio like a lounge music file and added my voice, added titles, added transitions. And in short let’s see what it will look like. I can use alt enter again to see it full screen.
Well, that is nice I saw some flaws and I want to repair those. And another thing I wanted to show you is that it’ also, really nice to use slow-mo’s.
27:24 Slow motion or speeding up your video
Or the reverse: speed up the video. In this case, I would like to end with a very slow walking dog.
I’m going to tune this down to 30% of the normal speed. And as you can see obviously, the clip will be longer. Like that. But then I will show you the effect. I’ll do that again because now the title is in the way much too soon.
Move it again and here you can see the slow motion. Let’s start at the top. Go like this I’ll play it.
Well, that was it I hope you liked it and I will see you in the next video.
Olaf "the ToolFinderr" is a full-time internet marketer with a passion for systems and tools.
His goal and drive is to help you get more structural and recurring revenue in less time.
Or, if you are working for someone else, make you as productive as you will ever be.
His secret ingredient: loads of TOOLS.
Founded in 1970, 100% online since 2014.